Deploy Authorizer on Render
Introduction
This guide explains how to deploy a ready-to-use Authorizer instance on Render.
Render (opens in a new tab) is a unified cloud to build and run all your apps and websites with free SSL, a global CDN, DDoS protection, private networks and auto-deploys from Git.
Requirements
To follow along, you need a Render account (opens in a new tab). If you don't have one, you can visit the link above and click on "Sign In" in the top right corner to log in either with your GitHub, Gitlab, Google account or email.
Deploy an Authorizer Instance
Deploy production ready Authorizer instance using render.com (opens in a new tab) with a managed PostgreSQL database.
Click the button below to deploy an Authorizer instance to Render quickly.
After clicking the above button, follow the steps mentioned below:
Note: If you already have an postgres instance running. You can choose to deploy a branch
without-postgres(opens in a new tab)
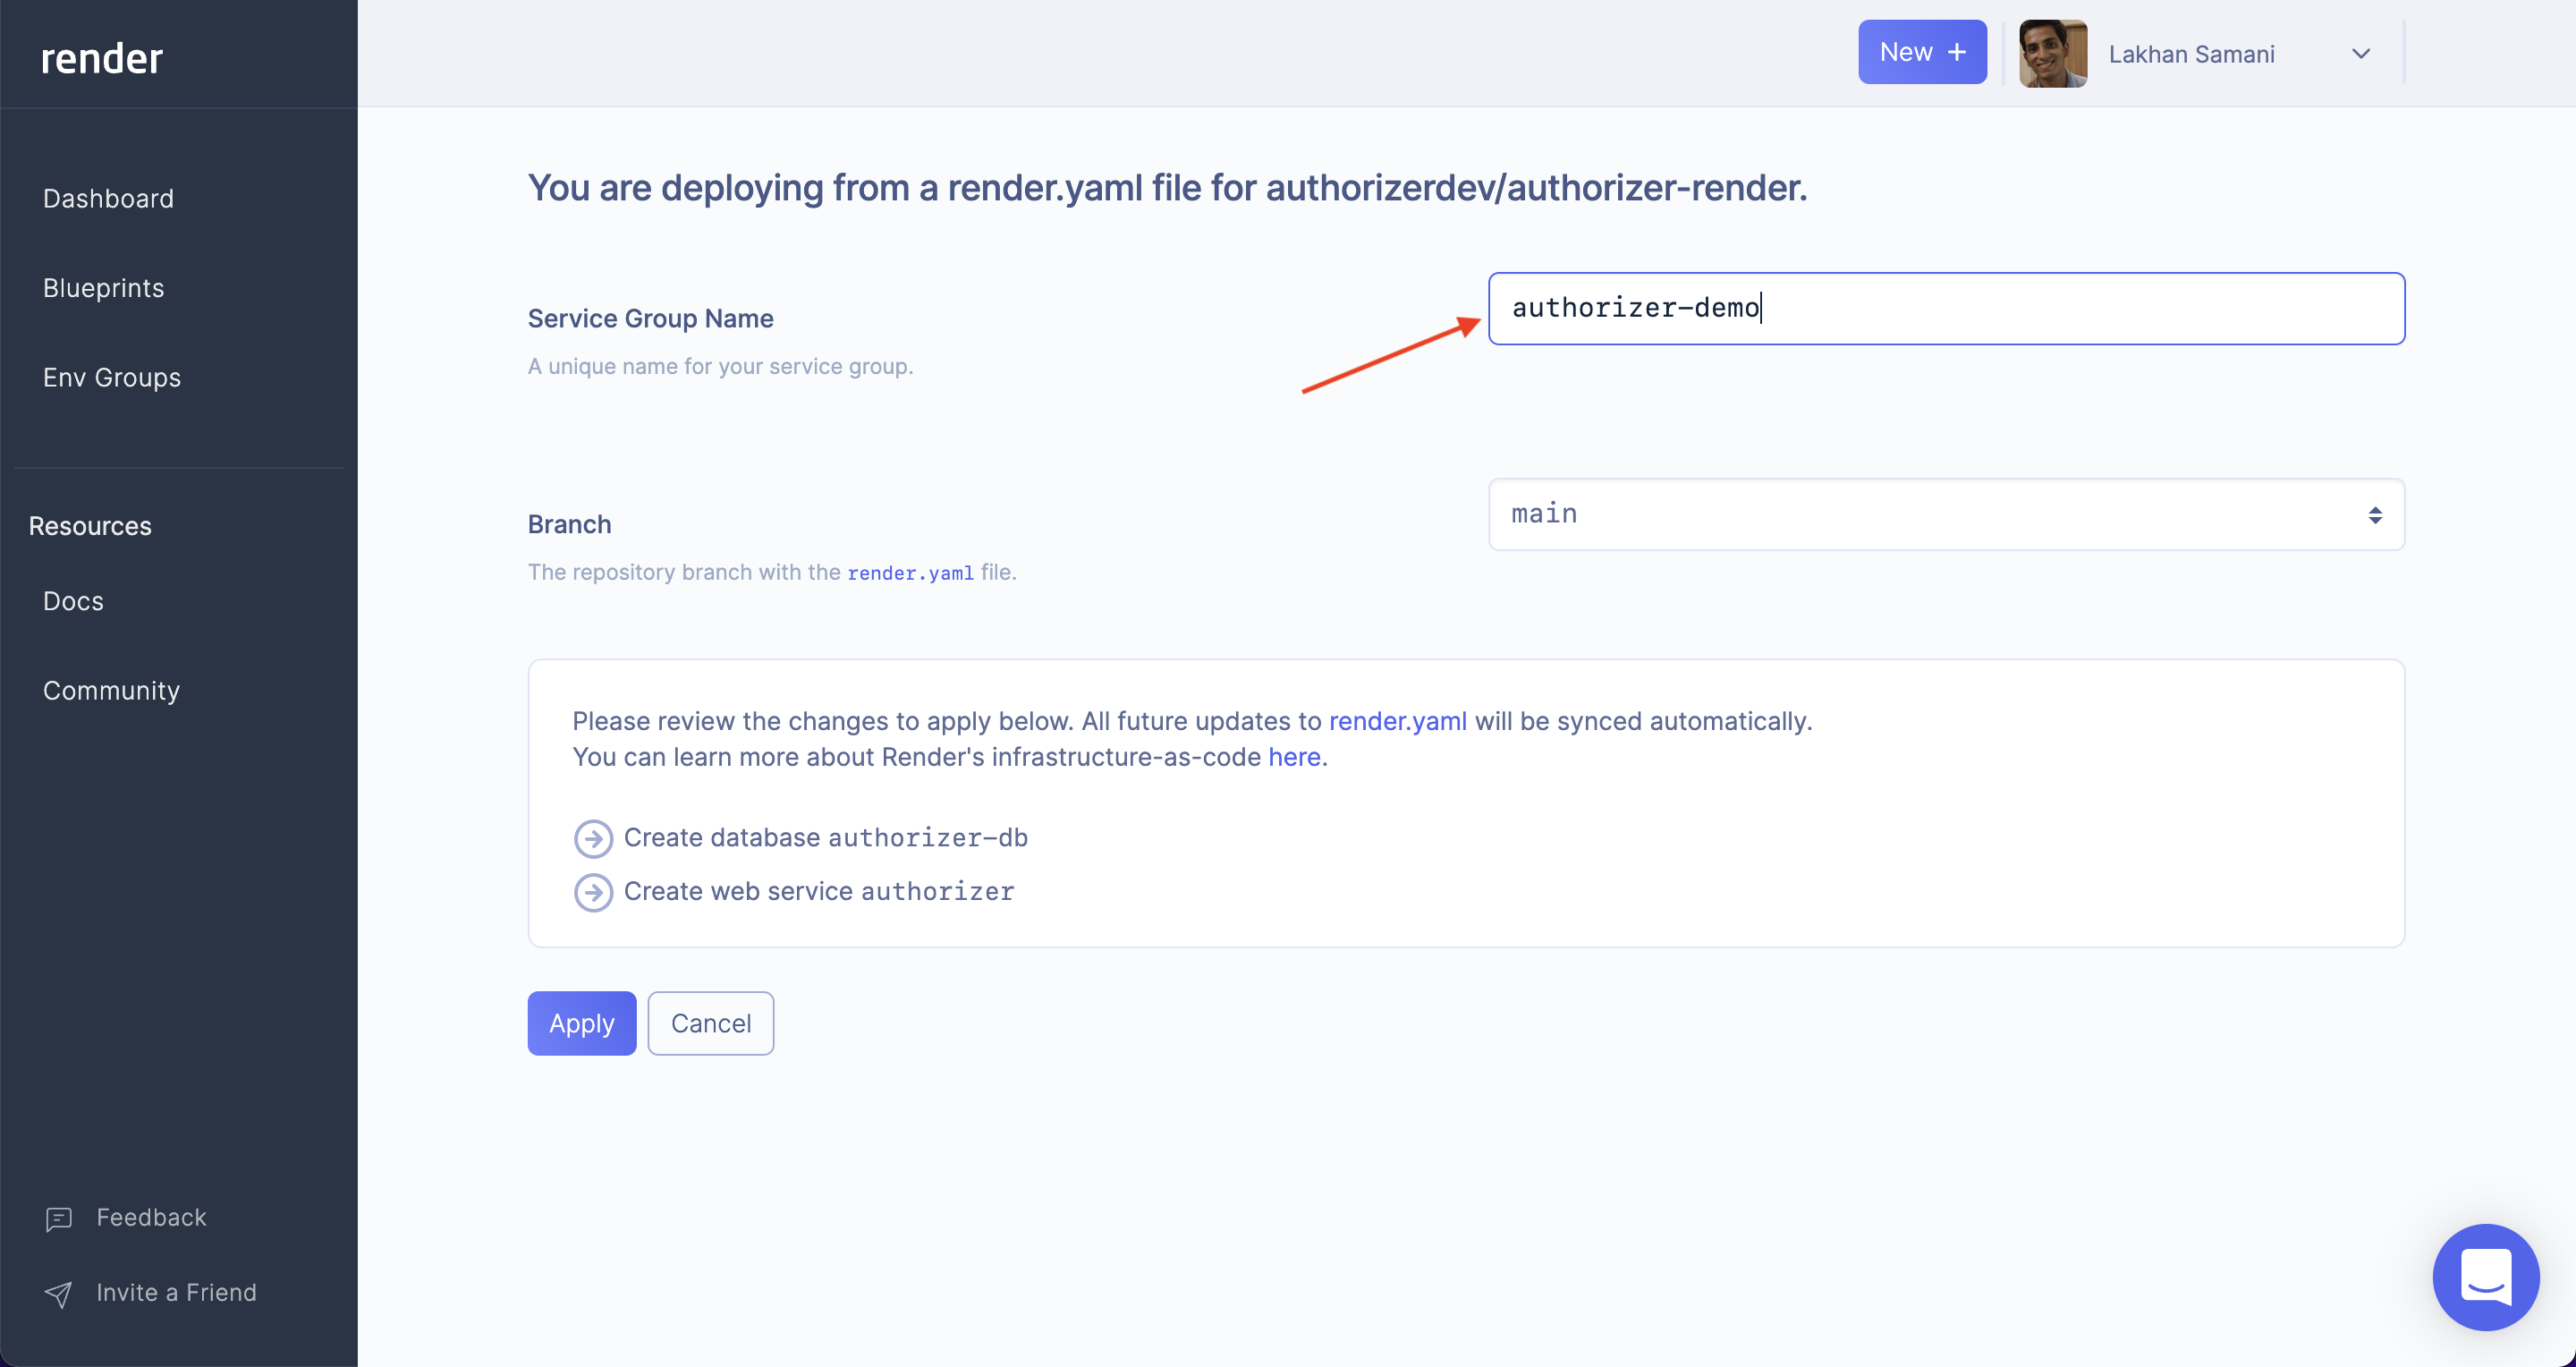
Step 1: Enter app details
Enter the name for your instance.

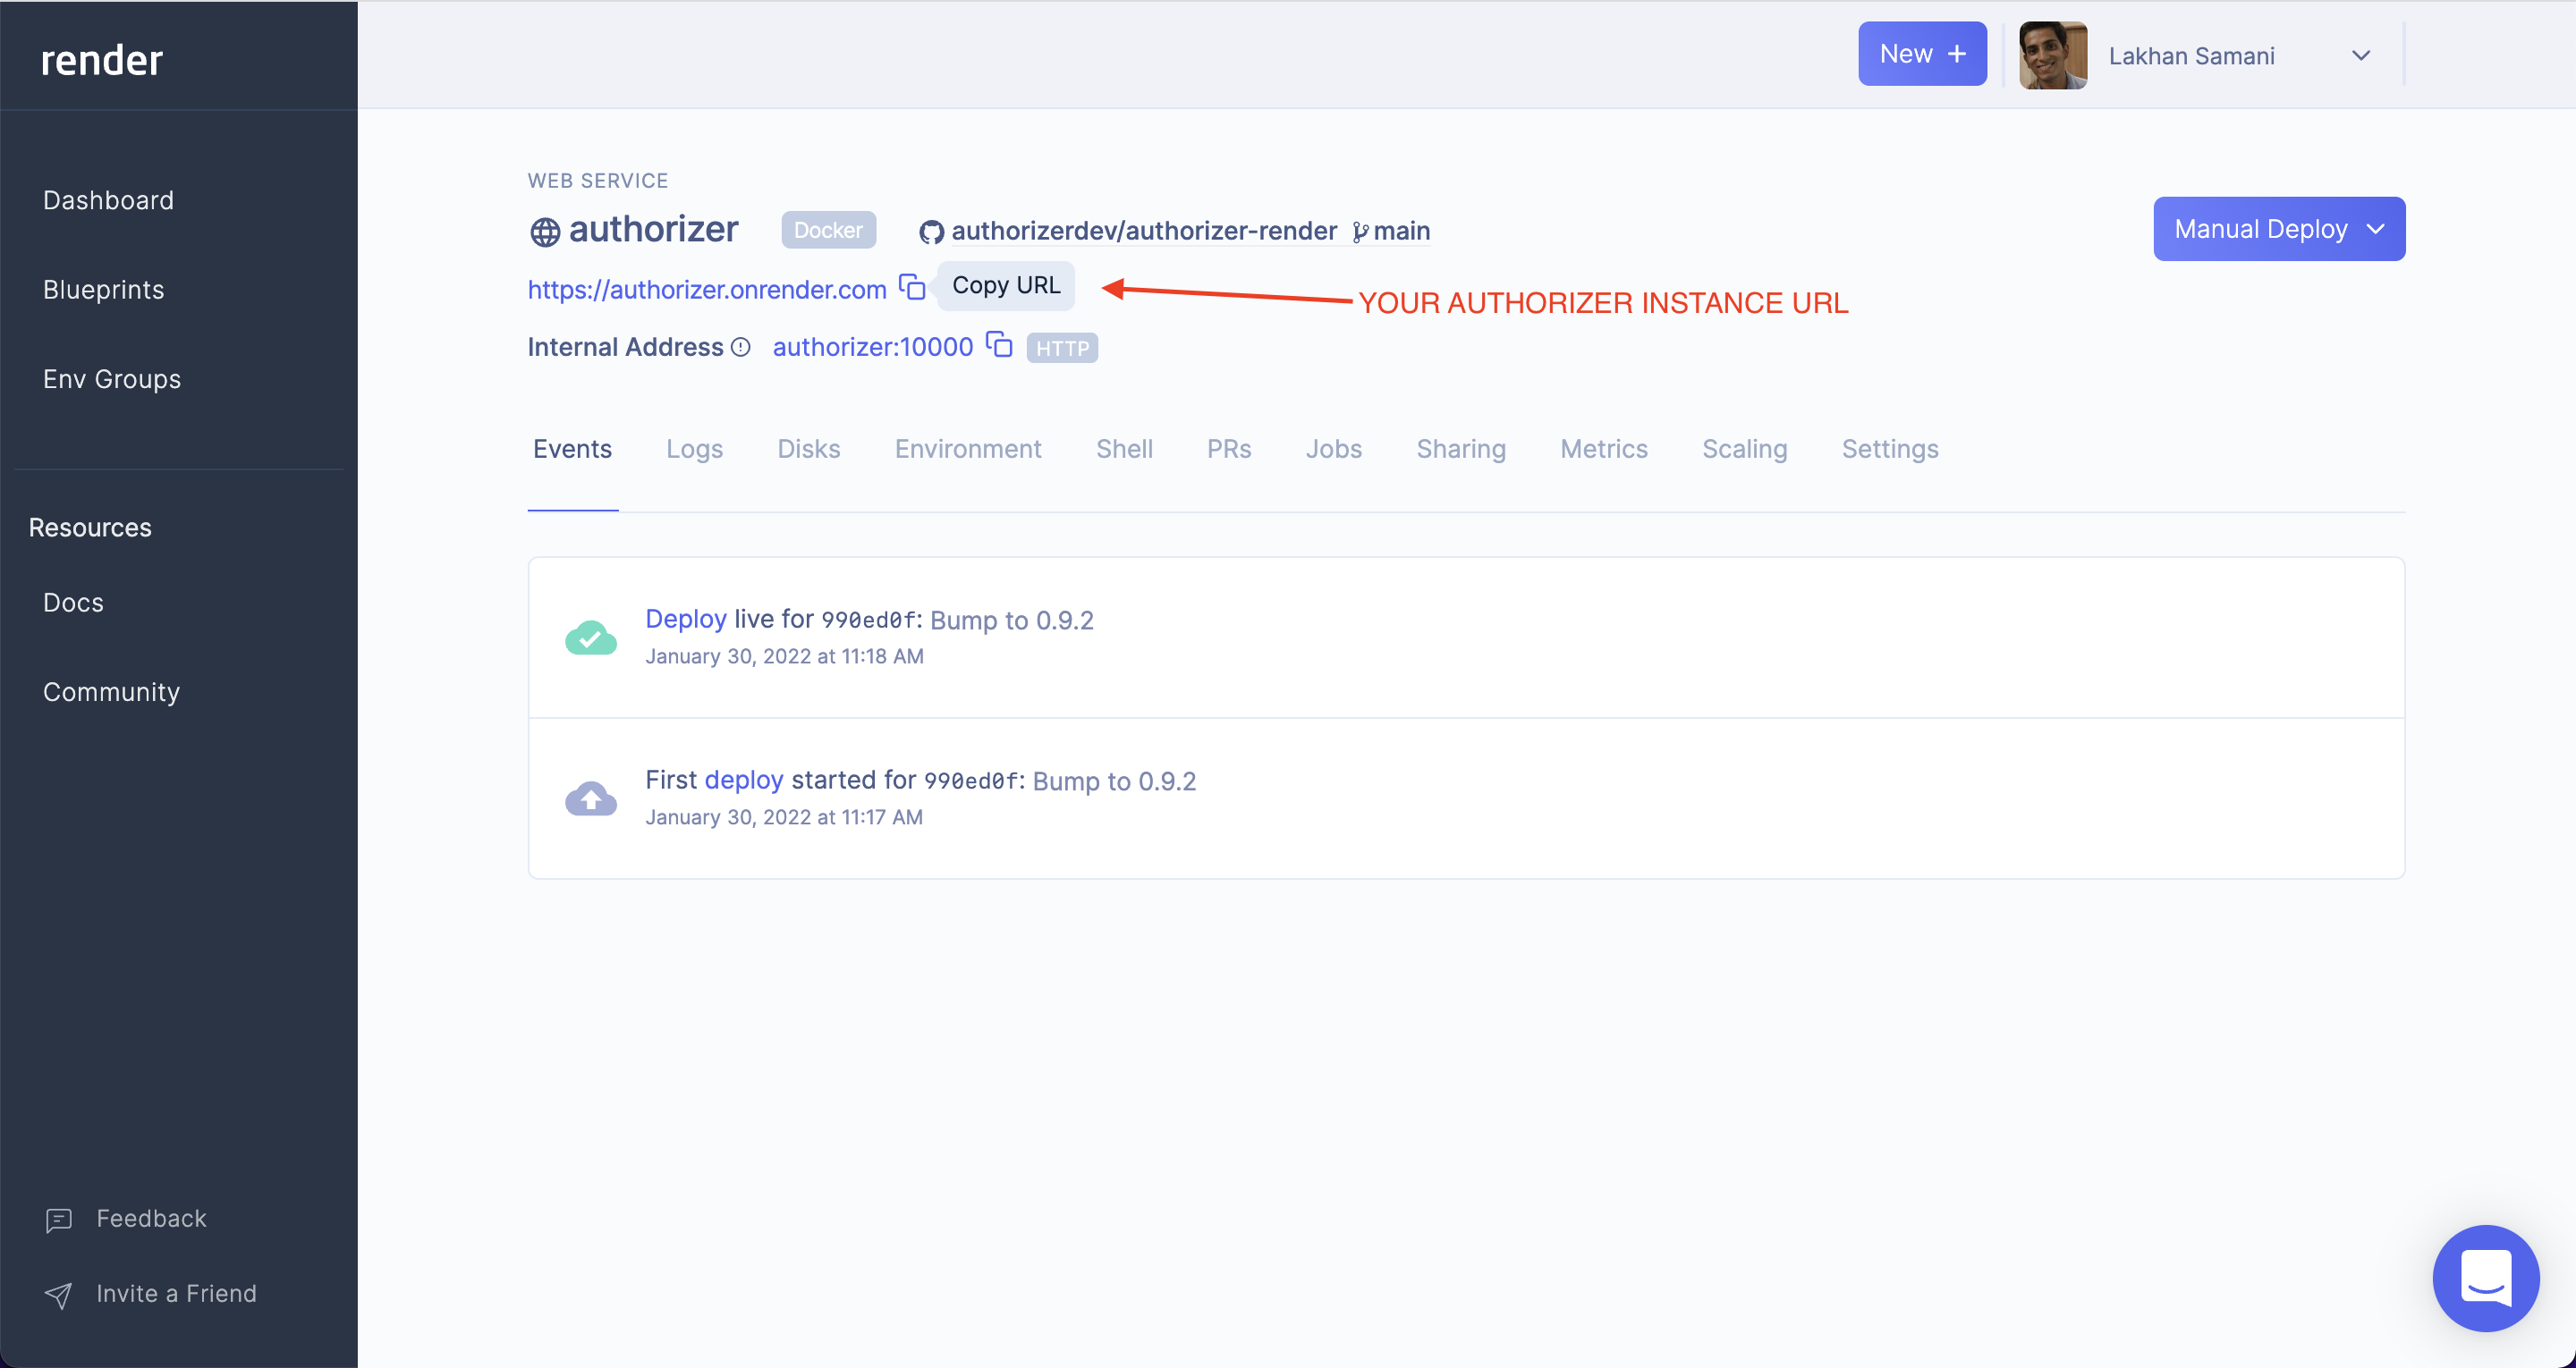
Step 2: Configure Envs
- Open authorizer instance endpoint in browser
- Sign up as an admin with a secure password
- Configure environment variables from authorizer dashboard. Check env docs for more information
Note:
DATABASE_URL,DATABASE_TYPEandDATABASE_NAMEare only configurable via platform envs

That's all 🎉 you can start integrating Authorizer (opens in a new tab) in your frontend application.
