Deploy on Heroku (opens in a new tab)
Create Instance
Deploy Authorizer with postgres DB using heroku (opens in a new tab) and play with it in 30seconds
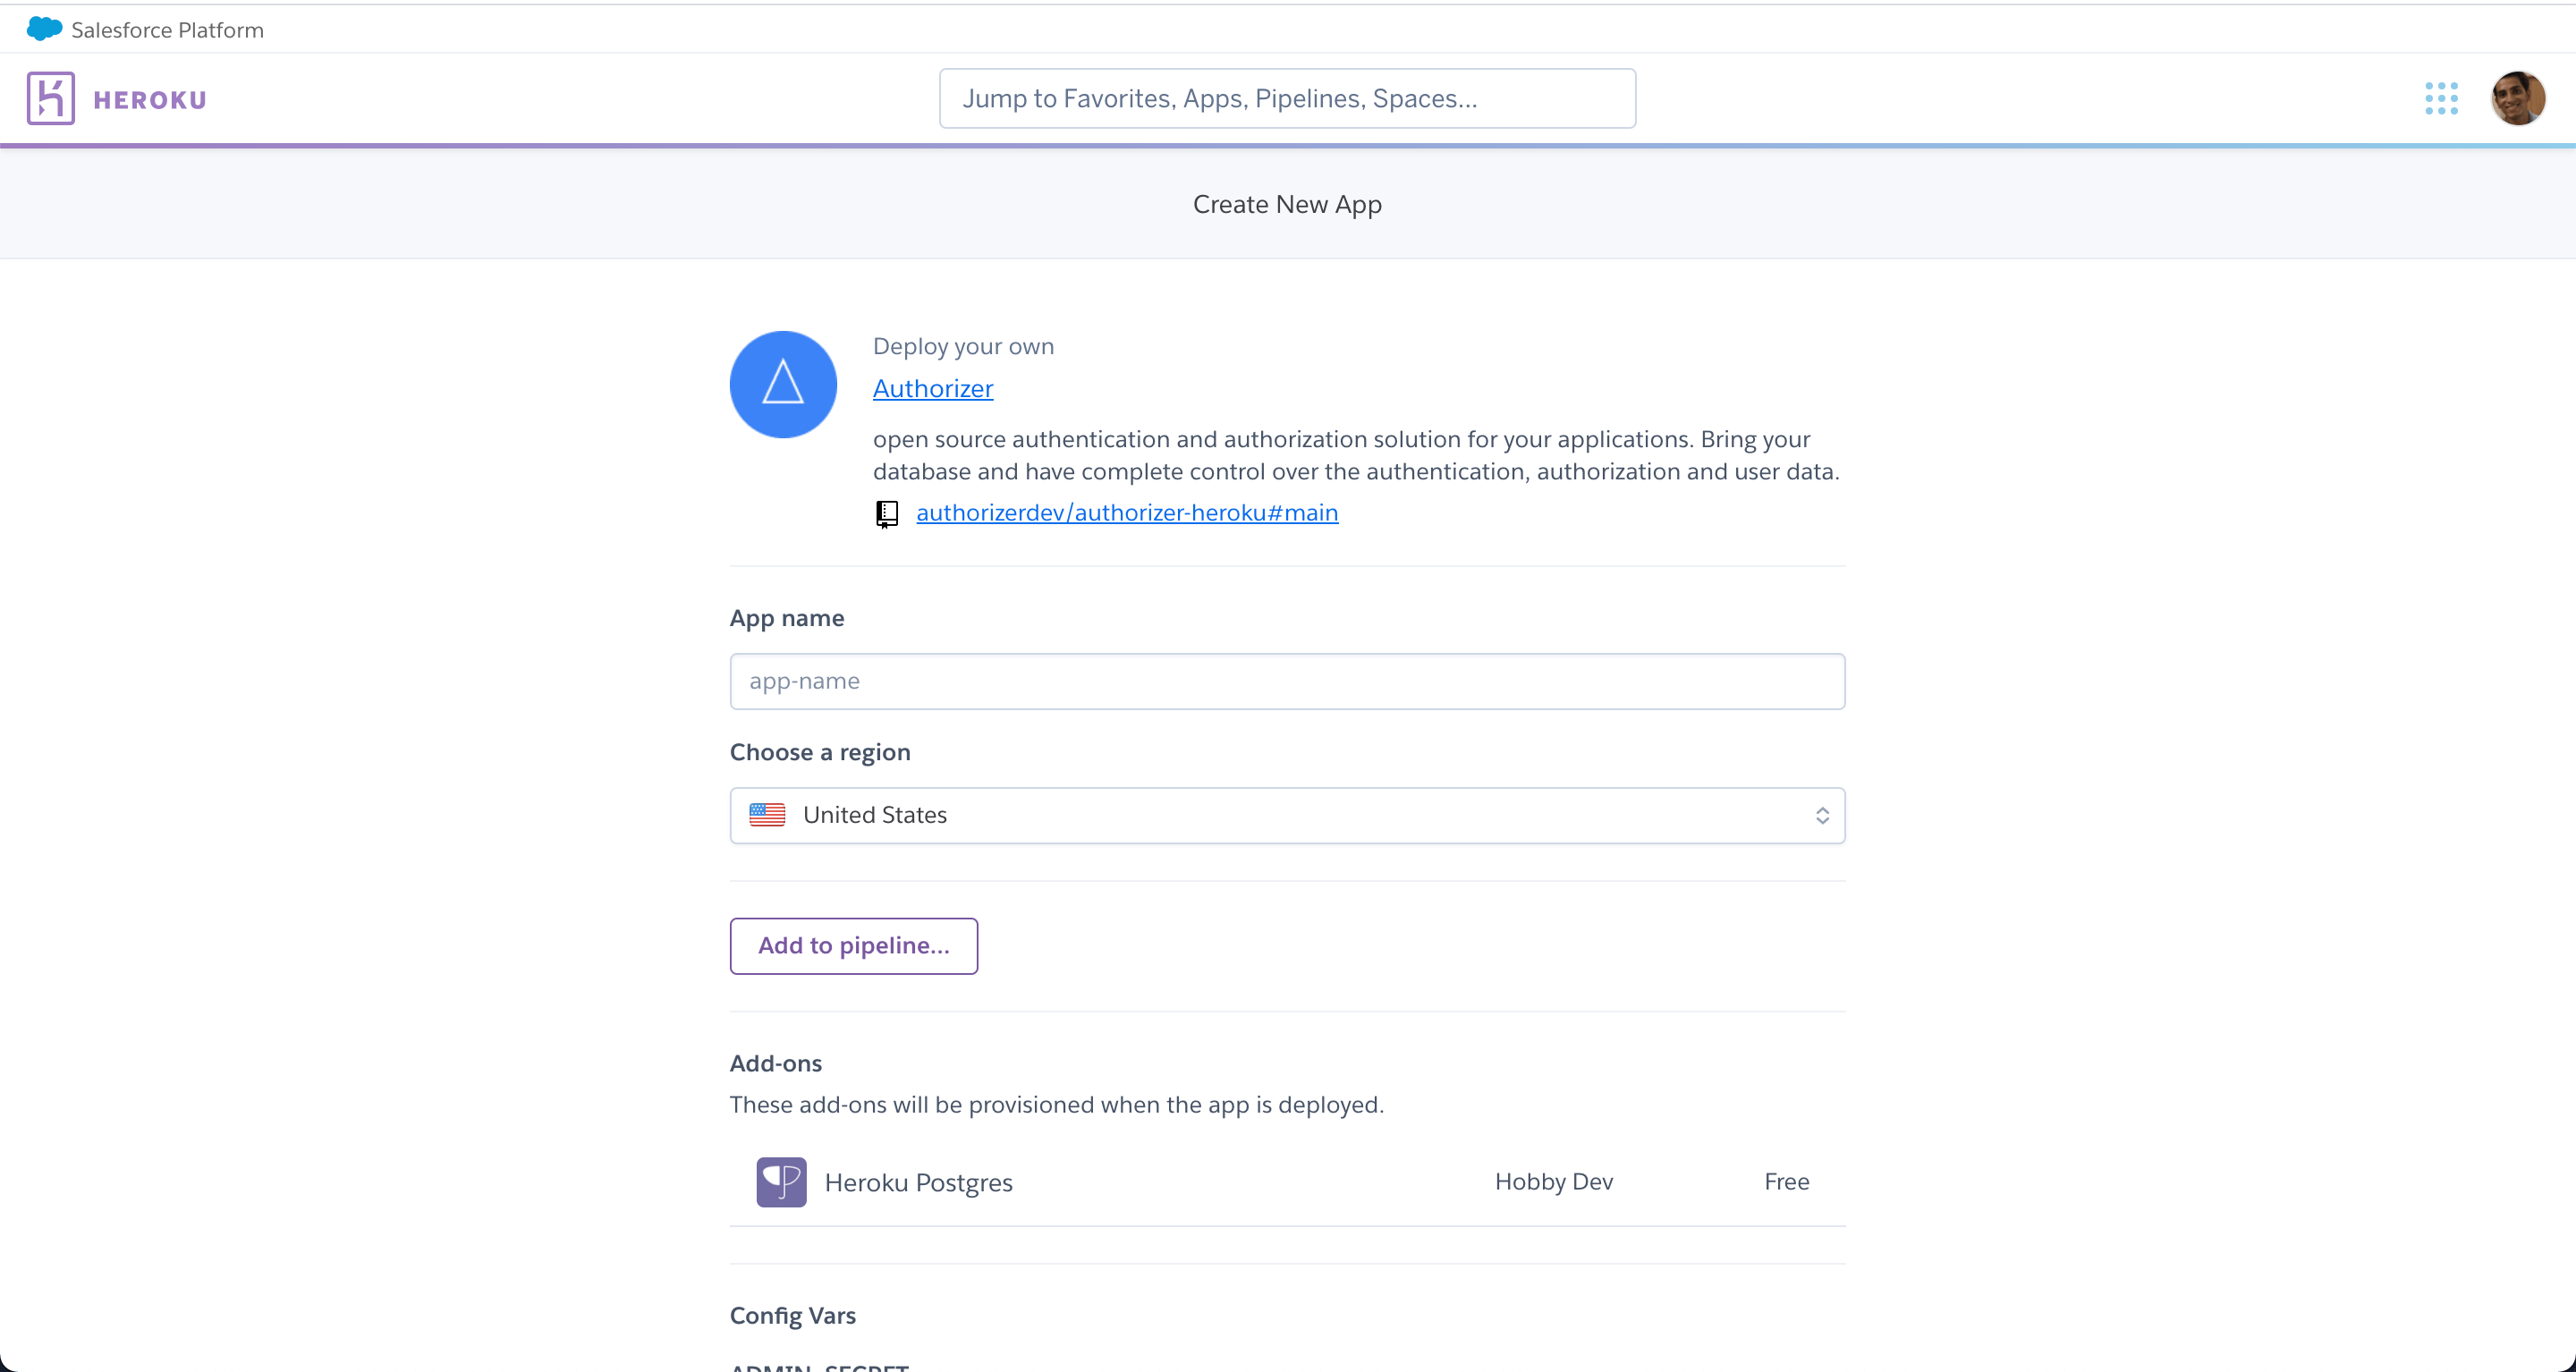
After click the above button you will see screen as below, follow the steps mentioned below:

Step 1: Enter the App name
App name becomes the url for your application. Example if you have entered authorizer-demo as the app name then the authorizer url will be authorizer-demo.herokuapp.com.
Step 2: Choose the Region and deploy
Select the region you want to deploy you application in. Heroku supports United States and Europe only.
Step 4: Setup Instance
- Open authorizer instance endpoint in browser
- Sign up as an admin with a secure password
- Configure environment variables from authorizer dashboard. Check env docs for more information
Note:
DATABASE_URL,DATABASE_TYPEandDATABASE_NAMEare only configurable via platform envs
Updating Instance
Update Authorizer to latest version on existing Heroku instance
Pre requisites
Step 1: Clone Authorizer Heroku App
The Authorizer app with Heroku buildpack/configuration is available at: Github (opens in a new tab).
Clone the above repository.
git clone https://github.com/authorizerdev/authorizer-heroku
cd authorizer-heroku
If you already have this, then pull the latest changes which will have the updated GraphQL engine Docker image.
Step 2: Attach Heroku app
Let’s say your Heroku app is called authorizer-heroku and is running on heroku (opens in a new tab).
From inside the graphql-engine-heroku directory, use the Heroku CLI to configure the git repo you cloned in Step 1 to be able to push to this app.
# Replace authorizer-heroku with your Heroku app's name

heroku git:remote -a authorizer-heroku
heroku stack:set container -a authorizer-heroku
You can find your Heroku git repo in your Heroku - Settings - Info - Heroku Git URL
Step 3: git push to deploy the latest Authorizer GraphQL engine
When you git push to deploy, the Heroku app will get updated with the latest changes:
git push heroku main