Official Documentation
For detailed explanation of each functions check golang authorizer-go docs
Getting Started
Pre-requisite: You will need an authorizer instance up and running. Checkout how you can host your instance in the docs
Follow the steps here to install authorizer-go in your golang project and use the methods of SDK to protect/authorize your APIs
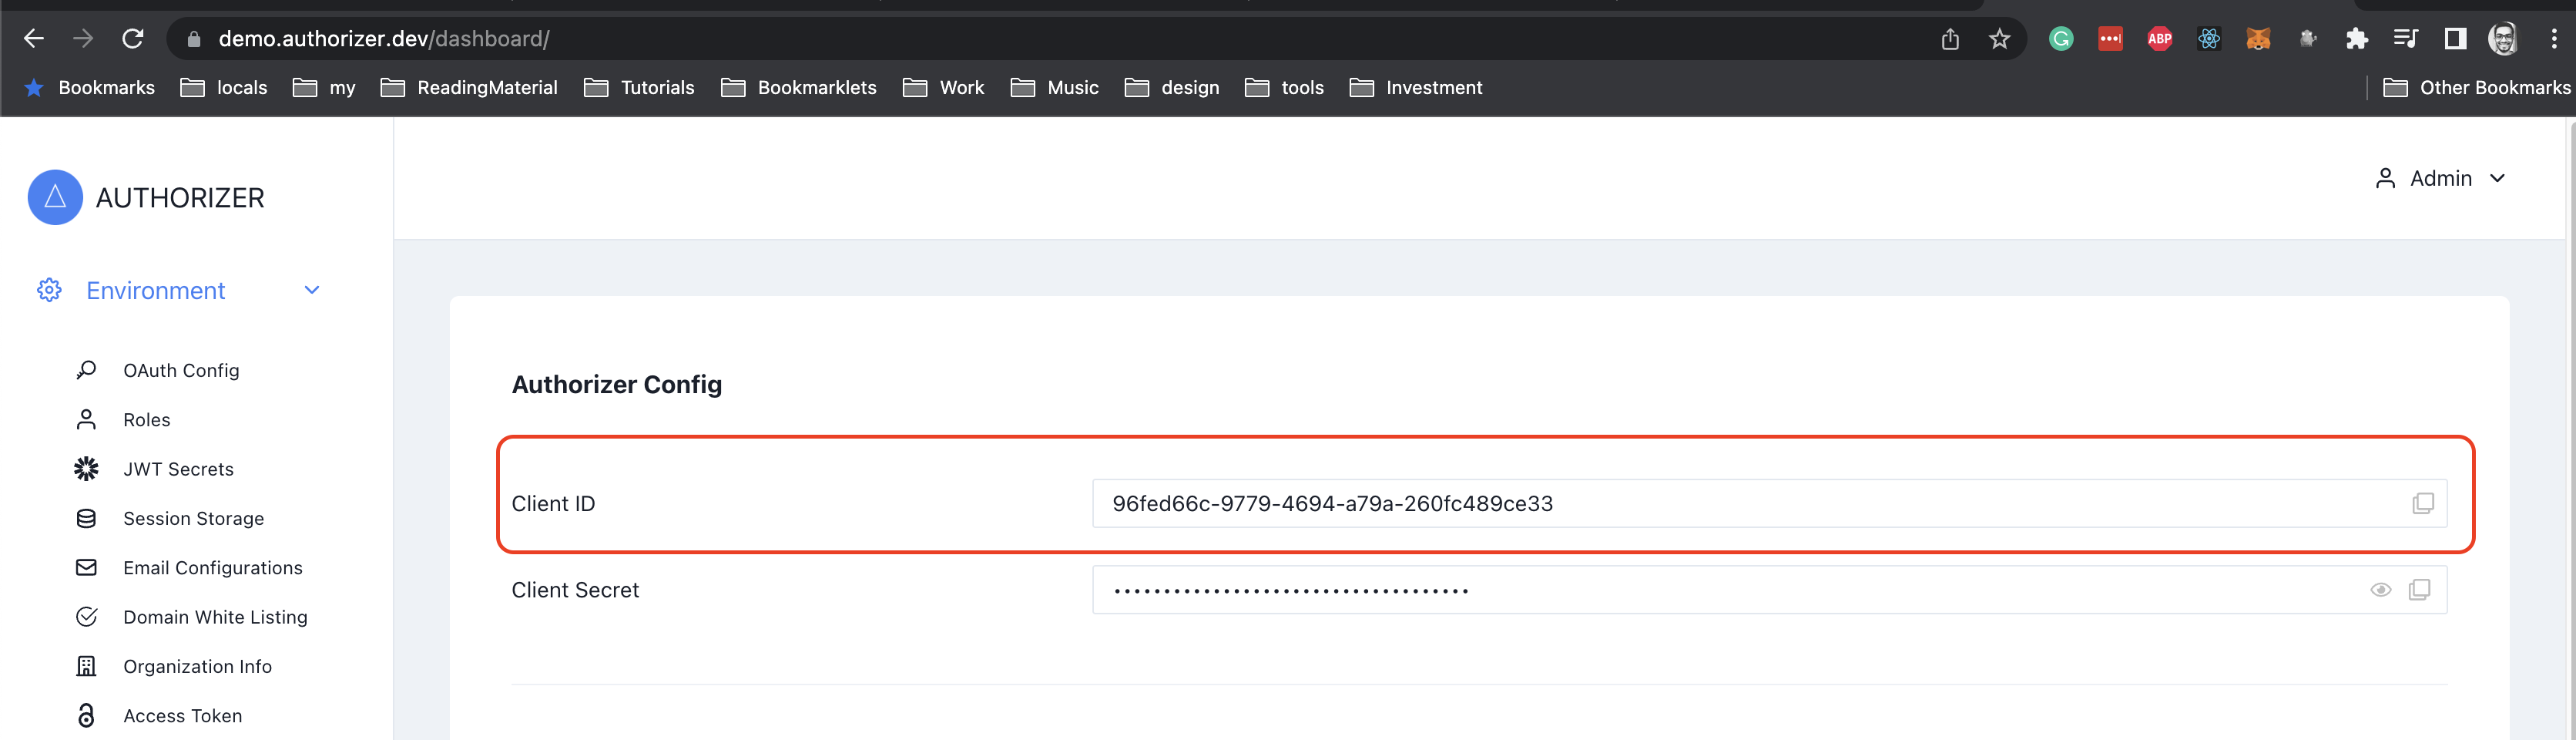
Once you have deployed authorizer instance. Get Client ID from your authorizer instance dashboard
Step 1: Install authorizer-go SDK
Run the following command to download authorizer-go SDK
go get github.com/authorizerdev/authorizer-go
Step 2: Initialize authorizer client
Parameters
| Key | Type | Required | Description |
|---|---|---|---|
clientID | string | true | Your unique client identifier obtained from authorizer dashboard |
authorizerURL | string | true | Authorizer server URL |
redirectURL | string | false | Default URL to which you would like to redirect the user in case of successful signup / login / forgot password |
extraHeaders | map[string]string | false | set of headers that you would like to pass with each request |
Example
defaultHeaders := map[string]string{}

authorizerClient, err := authorizer.NewAuthorizerClient("YOUR_CLIENT_ID", "YOUR_AUHTORIZER_URL", "OPTIONAL_REDIRECT_URL", defaultHeaders)
if err != nil {
    panic(err)
}
Step 3: Access all the SDK methods using authorizer client instance, initialized on step 2
Example
response, err := authorizerClient.Login(&authorizer.LoginInput{
    Email:    "test@yopmail.com",
    Password: "Abc@123",
})
if err != nil {
    panic(err)
}